


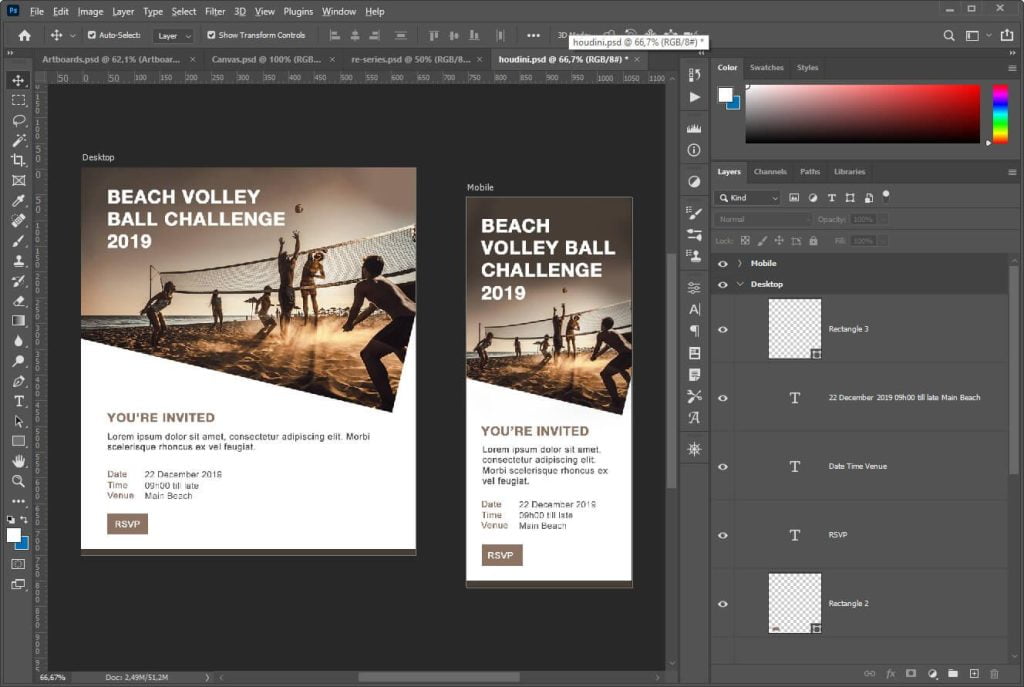
Artboards in Photoshop are essentially canvases within a single document, allowing you to create multiple designs, layouts, or pages in one file. You can think of them as separate pages or screens, each with its own unique dimensions, settings, and design elements.
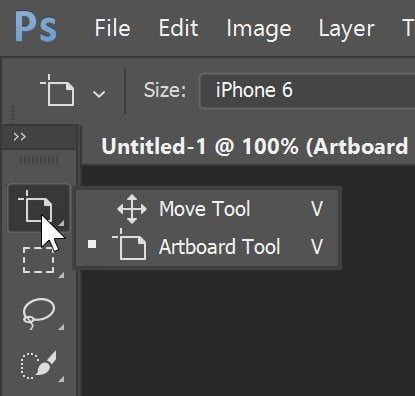
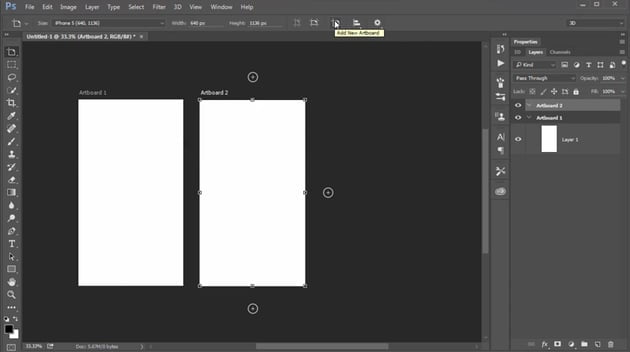
To create an Artboard in Photoshop, you simply need to select the Artboard tool from the toolbar on the left-hand side of the screen, and then click and drag to define the size and position of the Artboard. Alternatively, you can select the Artboard option from the File menu, and then choose the preset size and orientation that you require.
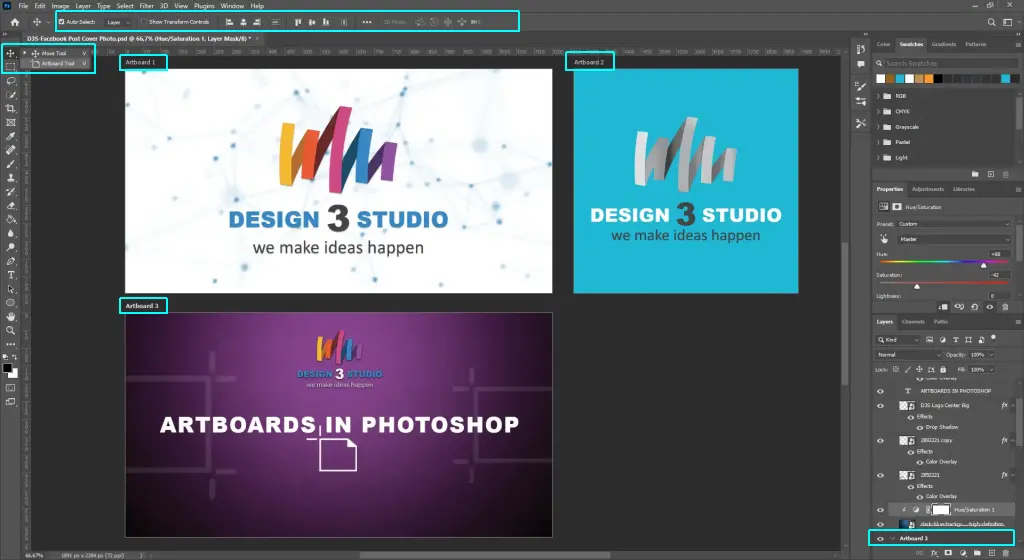
One of the key benefits of using Artboards is that they allow you to work with multiple designs in one file, while keeping each design separate and organized. For example, if you’re creating a website, you might have separate Artboards for the home page, the contact page, and the about page. You can then easily switch between these Artboards to view and edit each design, without having to switch to a separate file.
Another great feature of Artboards is that you can easily duplicate them, allowing you to create multiple versions of a design or layout, without having to start from scratch. You can also rearrange the order of the Artboards by simply dragging and dropping them into place.
In addition to creating multiple Artboards within a single file, you can also export each Artboard individually or export them all at once. This makes it easy to share your designs with clients or colleagues, or to prepare your designs for development.
Exporting Artboards as separate files in Photoshop is a simple process. Once you have created your Artboards, you can export them individually or all at once by selecting the Artboard(s) you want to export and choosing the appropriate export option from the File menu.
To export a single Artboard, you can select the Artboard tool and then click on the Artboard you want to export. Once selected, you can then choose the “Export As” option from the File menu, which will bring up the export dialog box. From here, you can choose the file format, quality, and size of your exported file, as well as specify the location where the file will be saved.
If you want to export multiple Artboards at once, you can select all of the Artboards you want to export by holding down the Shift key and clicking on each Artboard. Once selected, you can then choose the “Export Selected Artboards” option from the File menu. This will bring up the export dialog box, where you can choose the file format, quality, and size of your exported files, as well as specify the location where the files will be saved.
Another way to export Artboards as separate files is to use the “Generate Image Assets” feature in Photoshop. This feature allows you to export multiple Artboards at once, and automatically saves each Artboard as a separate file. To use this feature, simply select the Artboards you want to export, and then choose the “Generate Image Assets” option from the File menu. Photoshop will then create a folder for each Artboard, and save the exported files in the appropriate folder.
In summary, exporting Artboards as separate files in Photoshop is a straightforward process that can be done in several ways. By exporting Artboards as individual files, you can easily share your designs with clients or colleagues, or prepare your designs for development.
Overall, Artboards are a powerful feature in Adobe Photoshop that can help designers save time and stay organized. Whether you’re working on responsive designs or multi-page layouts, Artboards provide a flexible and efficient way to create, manage, and export your designs within a single document.